Understanding How to Make and the Operating Principle of a Simple Earthquake Measurement Device, Seismograph, at Home. What is a Seismograph? What is the Purpose of Using a Seismograph?
( Earthquake – Fault line – What is a Seismograph ? Do it yourself seismograph construction at home )
A seismograph is a device that detects the vibrations caused by movements in the Earth’s crust. Its operating mechanism has evolved over time with advancements in technology and research.
The seismograph determines the epicenter and magnitude of an earthquake by recording its time, seconds, and duration, storing each tremor data point to assist scientists in gathering information about potential future earthquakes.
Seismographs are crucial instruments used in earthquake research.
Fundamentally, a seismograph records the tremors on a cylinder that moves clockwise beneath a fixed pen, thereby measuring the intensity of the earthquake.
Seismographs found in earthquake research centers are a more advanced type equipped with professional electronic components, enhancing their functionality.
By incorporating earthquake-themed education into the category of scientific experiments at the elementary school level, we aim to contribute to the development of children’s psychomotor and motor skills and raise awareness. In this context, we will create our own seismograph with illustrated instructions as an activity for home and school.
Materials:
Medium-sized cardboard box
Plastic or paper cup
Alcohol-based pen
Sharp tool for making holes
String
Play-dough
Paper
Coins, marbles, pebbles for weight
Instructions:
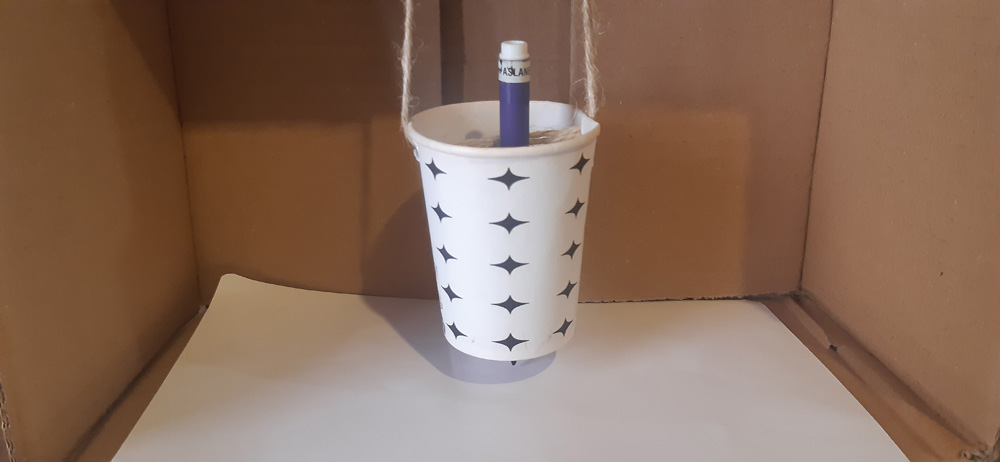
1. We pierce our plastic or cardboard cup from the mouth in the same way on both sides.
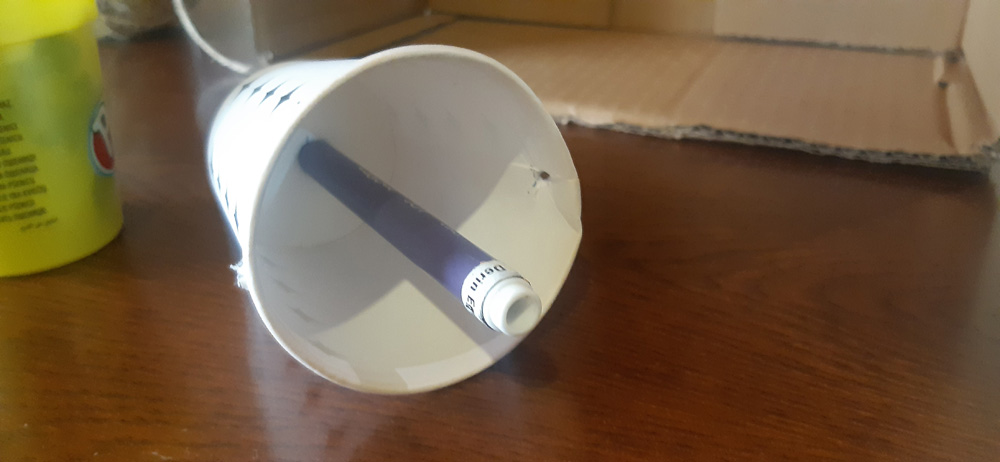
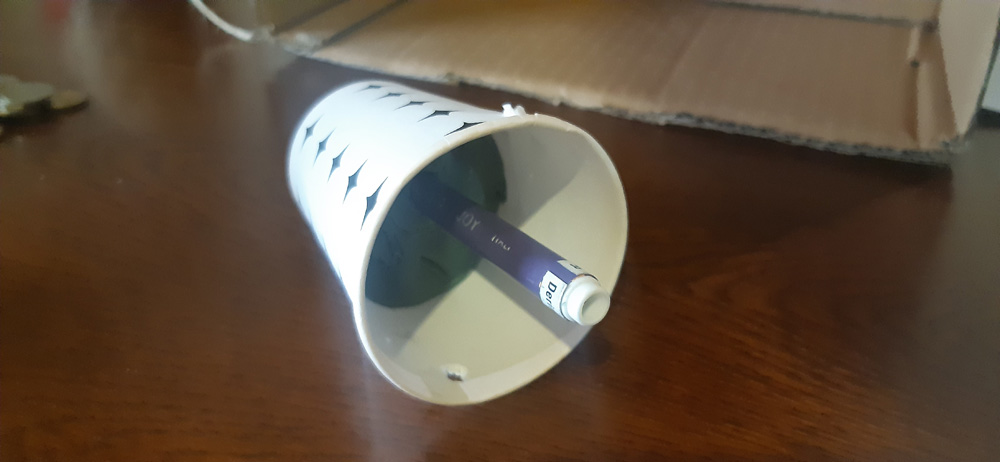
2. We make another hole at the bottom of our cup so that a pen can fit through.
3. We place the tip of our alcohol-based pen under the cup, protruding about 2 fingers from the bottom.
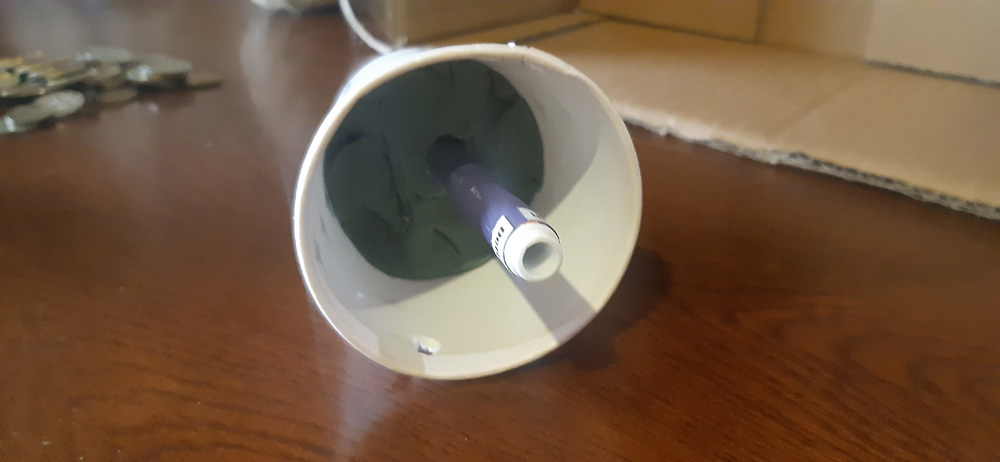
4. While the tip of our pen is protruding from the bottom, we place play-dough on the base of our cup and fix the pen vertically. (To prevent the pen from tilting left or right and to keep it aligned)
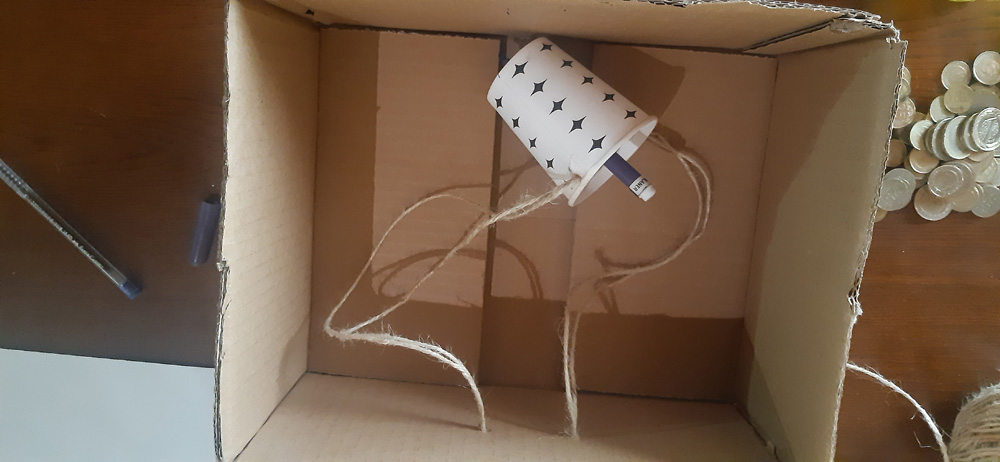
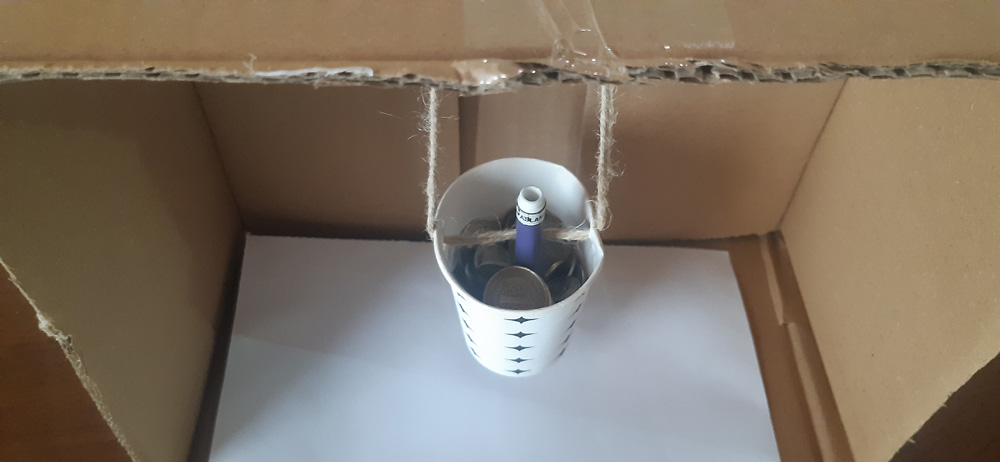
5. We pass our string through the holes we opened at the mouth of our cup (in a swinging motion).
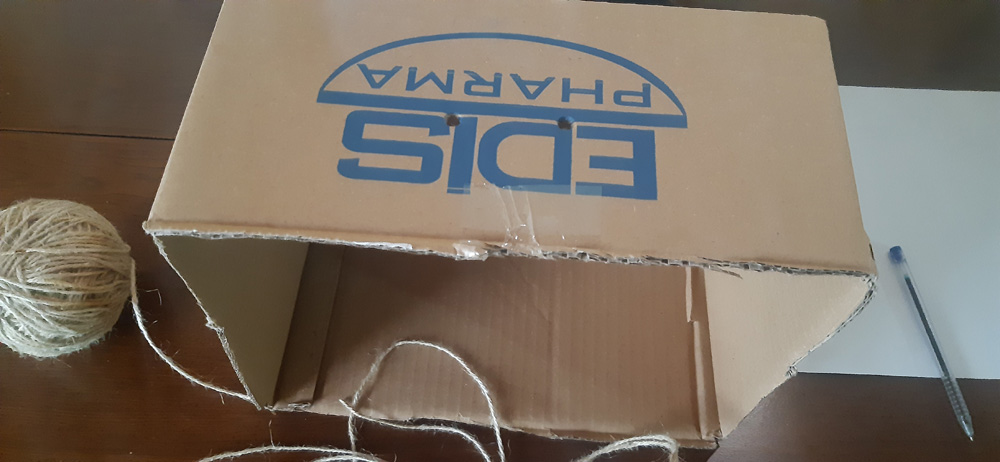
6. Holding our cardboard box vertically, we make two holes in the upper part of the box, just like the holes in our cup, wide enough for the string to pass through.
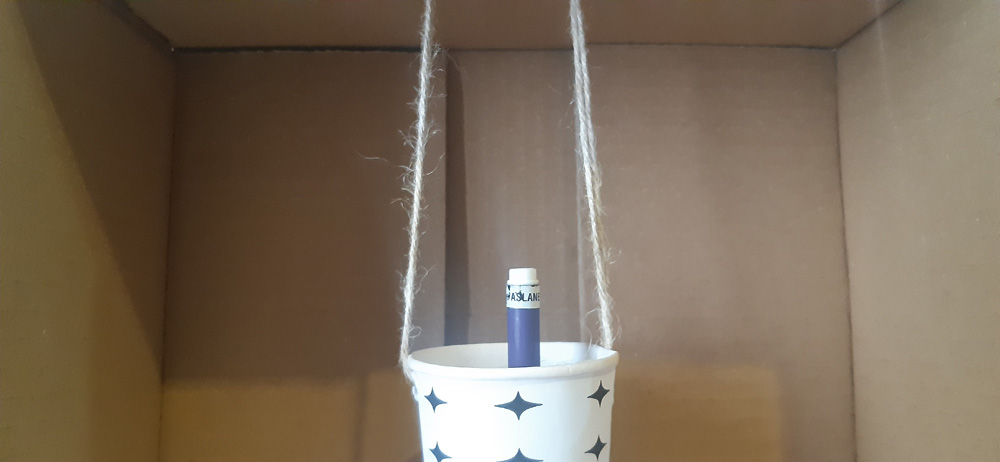
7. Placing the pebble, marble, or coin we will use as weight in our cup, we put it into the cardboard box and pass our strings through the holes and tie them. (Now it has taken the form of a swing)
Experiment Stage:
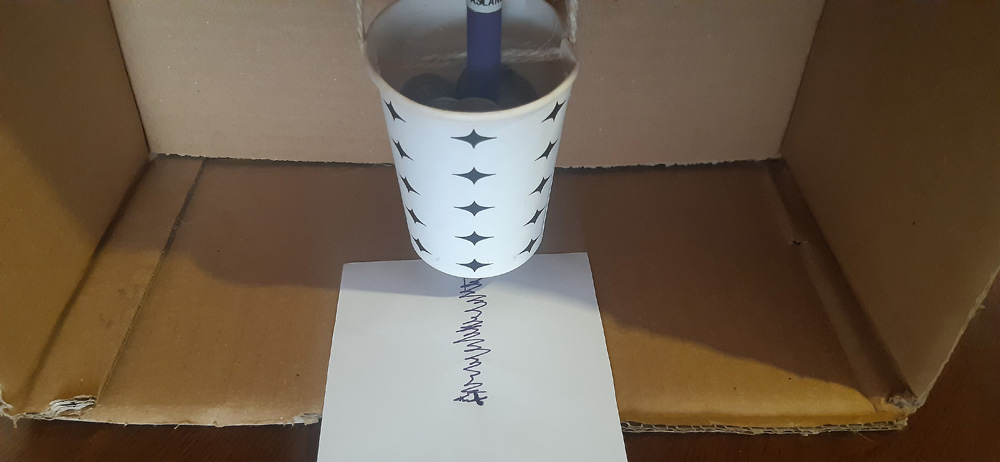
We align our paper under the pen protruding from our cup. As we slowly start pulling the paper, we simultaneously shake our table.
(For this, another person is required) While one person shakes the table, the other person slowly pulls the paper. The movements of our pen on the paper indicate that our seismograph is working.
Fundamentally, this is how a seismograph works. The lines on the paper in a professional seismograph provide the magnitude, duration, and measurement unit of an earthquake. After an earthquake with a magnitude of 1, an earthquake with a magnitude of 2 is measured to be 10 times stronger, not just 1 time stronger.
So, after an earthquake with a magnitude of 1, an earthquake with a magnitude of 2 is read as being 10 times stronger.
I hope I have sparked curiosity and encouraged you to delve into research in terms of education and learning.
With love and greetings.
Seismograph Construction